
Inspect before the launch-day rush
A spring inspection starts with a clean enough surface to reveal what storage grime hides. Use a cleaner intended for the boat's finish, rinse it away, and let the hull dry before evaluating marks. Work around the boat in good light, looking at the bow, chines, transom, topsides, and accessible bottom areas from secure footing. Include places normally hidden by covers or fenders when they are accessible without disturbing support equipment. Before a launch on Canobie, Big Island Pond, or the Merrimack, a deliberate look at these different surfaces gives you a more useful picture than judging the hull from its most attractive side alone.
Describe chips and cracks without guessing
Gelcoat is the outer resin-rich finish used on many fiberglass boats; it is not the same material as the reinforcing laminate beneath it. A chip may involve only that outer layer, while a deeper gouge can expose fibers or damaged laminate. Record the location, approximate dimensions, and appearance without grinding the area open. Look for a missing flake, a fine line, a branching pattern, or fibers visible in the damaged spot. Each description communicates something different. Photographs with a scale reference and a wider view help a repair professional understand where the mark sits on the hull rather than seeing an isolated close-up with no context.
Separate fading from physical damage
Fading and chalkiness are different from a missing piece of gelcoat. Weathered surfaces can lose gloss as their outer layer changes through exposure, and some may respond to cleaning and a suitable polishing process. Begin with the least aggressive method appropriate to the finish rather than assuming heavy compounding is always better. Raised edges, corners, and earlier repairs can react differently from broad open areas. A small test area helps establish what improvement is realistic without treating the entire hull. Polishing removes material, so repeated aggressive work is not an unlimited solution. Paint may be a separate refinishing option rather than the automatic next step for every faded boat.
Consider the area around a dock bump
Inspect the area around a dock bump instead of concentrating only on the scrape left by contact. Rub rails, nearby fasteners, and adjoining corners can help show how the load reached the hull. Note a loose fitting or a changed gap without tightening hardware simply to hide the symptom. Photograph the damage before applying waxes or dressings that may make its boundaries harder to see. If you remember the event, describe the contact point and what struck it, but keep that recollection separate from assumptions about the repair. A dark transfer mark, an abraded finish, and a deeper gouge require different preparation even when they came from one encounter.
Call to confirm the work we can consider
Call Car One to confirm whether your particular boat gelcoat or fiberglass job can be considered. For that conversation, have the boat's make, model, approximate dimensions, and photographs ready, along with a description of the affected surfaces. Mention any known paint over the gelcoat and previous repairs because those layers influence how a refinishing discussion begins. Car One's physical location is 55 Pelham Rd, Salem, New Hampshire, near Exit 2 off I-93, and the business has served customers since 2004. Keep the inquiry focused on the observed condition and intended result, distinguishing a request for improved gloss from a request to investigate cracking or damaged laminate.
Do not assume trailer delivery arrangements
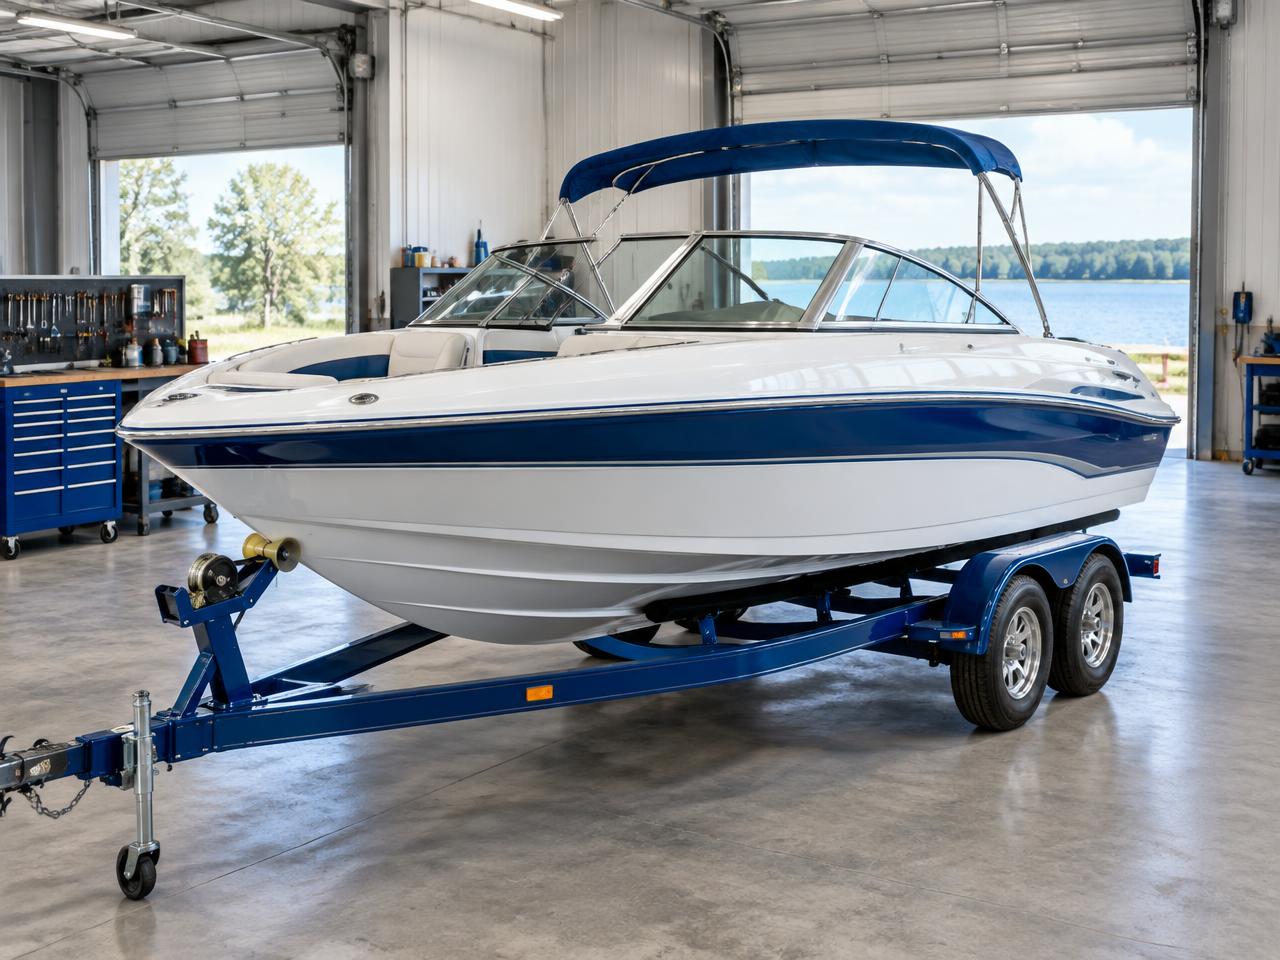
Describe the boat and trailer arrangement before planning a visit. Overall dimensions, accessible damage locations, and how the boat is supported matter to the handoff discussion. Do not assume the boat should arrive loaded with loose cushions, fishing equipment, covers, and personal gear; ask which items should accompany it and remove unrelated belongings accordingly. Keep hull identification and any repair history available with your contact details. Clear photographs of the trailer setup can help explain access questions without requiring someone to infer them from the boat model. Confirm delivery and collection arrangements directly rather than treating the physical address as instructions for leaving a trailer unattended.
Plan around the assessment, not a launch promise
Crack patterns deserve attention to their surroundings. A line near a fitting may relate to localized loading, while several small cracks near a corner may reflect stress concentrated in that shape. An assessment examines the pattern, depth and nearby material together. Note whether the crack follows an edge, crosses a previously repaired area, or sits beside distorted hardware. If you find exposed damaged laminate, movement, or suspected water entry, get a professional assessment before launching. Leave the line available for examination instead of filling it first. Preserving the surface evidence helps distinguish a finish defect from damage that reaches farther underneath.
Keep the next step small and clear
Finish your spring review with a map of the observations rather than a single label such as hull needs work. Group fading, chips, cracks, and hardware concerns separately, noting which areas were inaccessible during your inspection. That record helps keep an appearance project from obscuring a specific damage question. Ask how the finish should be cared for after any work and which products suit the repaired surface. Retain photographs of the original condition and the repair documentation with the boat's other records. A useful preparation process ends with a defined next action for each meaningful finding, not a fresh coat of polish over everything that looked imperfect after storage.